


Android Data Recovery


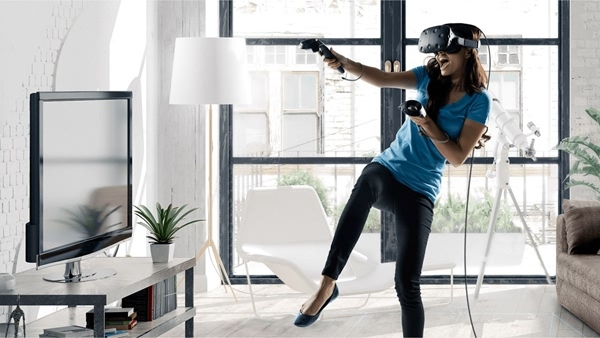
Things You Need to Know Before Using HTC Vive
-- Monday, August 01, 2016
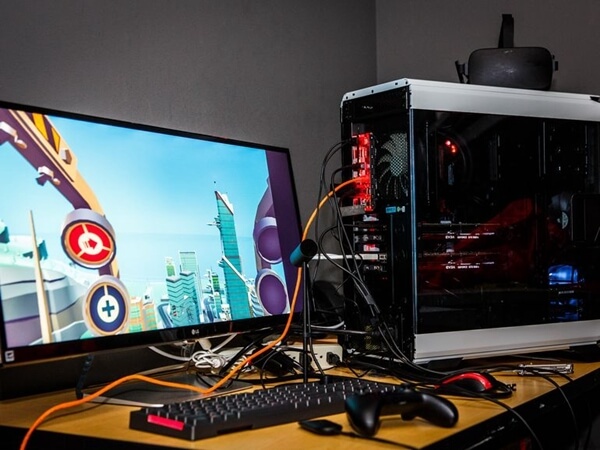
1. A high-performance PC
Having HTC Vive is of course the must in the very first place. Meanwhile, a high-performance computer is also indispensable, which can assure you of the fluent experience on virtual world.
Make sure that your computer meets the minimum specs:
Graphics Card: Nvidia GeForce GTX 970 or AMD Radeon R9 290 or better
CPU(Central Processing Unit): Intel Core i5-4590 or AMD FX 8350 or greater
Memory: 4GM RAM or more
Video port: HDMI 1.4, DisplayPort 1.2, or better
USB port: 1 USB 2.0 or faster port
OS(Operating System): Windows 7 SP1 or newer
2. The Latest Diver Version
If you're a senior player, I believe you keep the drivers updated as long as it needs to be updated. However, if you are just an amateur player, you should always ensure that the latest version of the drivers has been updated on your PC. Since AMD and Nvidia have already released the latest update for the VR-related drivers, you ought to check out whether you've yet updated the drivers.
3. Items in Packing Box
There are lots of items containing in the HTC Vive packing box. Now, let's take a look at those items, and make sure that you don't miss one of them.
Headset with attached 3-in-1 tether and audio cord ×1
Link Box ×1
USB Cable ×1
HDMI Cable ×1
AC Adapter ×1
Controllers ×2
Micro-USB Cables ×2
AC Adapters ×2
Base Stations ×2
AC Adapters ×2
Sync Cable (optional)×2
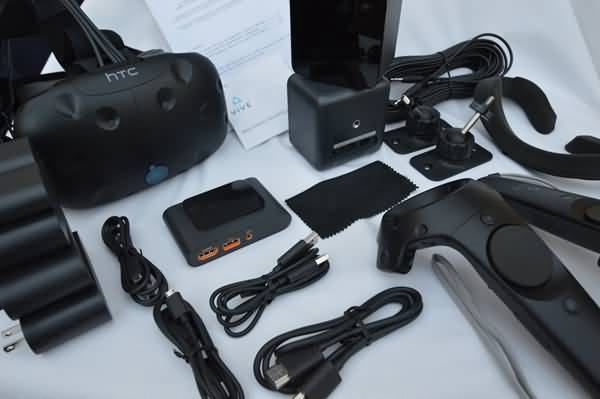
Note that if you have no idea of how to set up HTC Vive, check out here.
4. Keep Controllers Fully Charged
Although HTC Vive Controllers are still available to be used for a while after you receive them, you'd better fully charge the controllers before you immerse in virtual world. I guess you definitely don't wish to find your "hands" useless when you are in the mood.
5. Download Software of HTC Vive
Enter HTC Vive Setup site and you are able to download software for your HTC Vive, which will prepares your computer for opening the gate towards virtual reality. You can install various Steam VR programs and follow the instruction to finish the installation without a hitch.
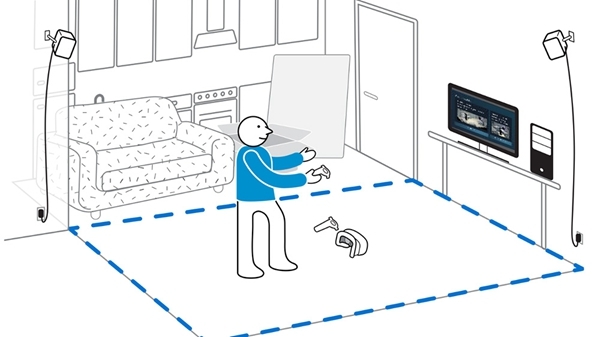
6. Customize Playing Space
You can have better VR experience within larger room, so you need to pick a room with some free space scaled at least 2m×1.5m (or 6.5 ft.× 5 ft.). The maximum distance supported between base stations is 5m (or 16 ft). It is all right even if you fail to meet the minimum requirements for HTC Vive. You can still enjoy some VR games though it would be a bit less satisfying.
7. Clean up Items Nearby
Make sure there are no valuables or fragile items around you when you're enjoying virtual reality. When you're wielding your sword to bring down a goblin, ensure that it's not in fact a vase you're attacking. Either your floor or ceiling should be cleared and unobstructed.
8. Have Enough Sockets
As is possibly known to you in advance, HTC Vive needs many sockets to run it up. Therefore, you should accordingly prepare enough sockets and make sure there are sockets available within the playing space.
9. Install Lighthouse Base Stations
You need to find a place where is suitable for placing the two base stations (Top of the bookshelves are recommended). Note that the two base stations should be able to cover most area at room. Also, hindrances on the way between two stations are not allowed, or you otherwise need to use sync cables to connect both stations. After plugging in the power, switch on and the light glows green, which means that the stations are going well.
10. Connect Headset with PC
HTC Vive needs a USB 3.0 port to connect PC and link box for data output. For video port, you can choose HDMI or mini-DisplayPort. Both are okay. Also, there is one point you should bear in mind, that is to say, all the cables that connect computer and link box are in the same color as that of the case of link box. When done linking USB and HDMI, plug in 12V power cable and we're done with all computer things.
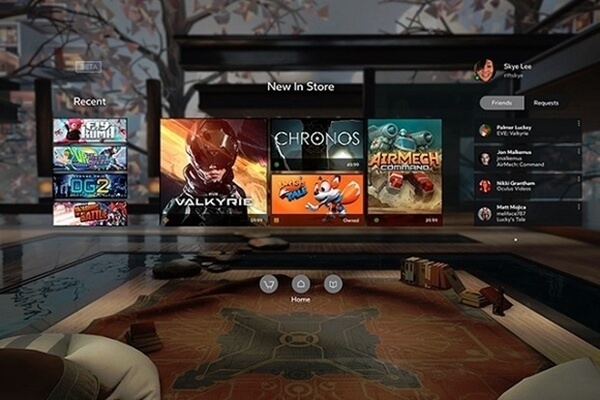
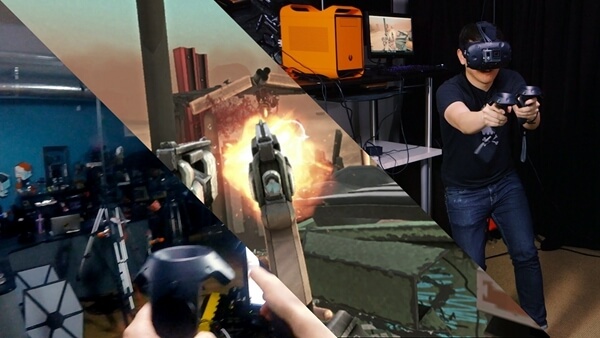
11. Download Interesting Games
It is almost done when you finish all the steps above, so now you need to download some VR games that you fancy. Users who purchased in advance will get 3 VR applications for free, of which respectively they are Fantastic Contraption, Tilt Brush and Job Simulator.
If you are not satisfied with these, get yourself more games. You can install Steam on computer, and it will automatically prompt you to install Steam VR. After the installation, you can see a "VR" icon on the upper right side of the interface. Tap on it and enter a brand new world.
Now, put on your Vive headset and hold your controllers. You are ready for the adventures on the wonderland! What's more, there are ten tips for you to improve VR experience. What are you waiting for? Take your outfit and set off!

Ivy Bruce is the Founder and Editorial Director at Recovery-Android Studio. You can also find her on Google+ and Twitter.
![]()
![]()
![]()
![]()


