Android Data Recovery
How to Rescue Data from Bricked Android Phone
-- Friday, April 21, 2017
Rescue Data from Bricked Android Phone
Android Photo Recovery is able to fix your bricked Android phone and restore data from bricked device, including contacts, messages, call history, WhatsApp, gallery, videos, audio, and documents. The program requires computer running on Windows.

Step 1 Connect Bricked Phone to PC
First of all, open Android Photo Recovery program on your computer. Then plug your bricked Android phone (Samsung Galaxy for example) to the computer. When the following interface occurs, select "Broken Android Data Extraction". The software will enter the interface as the screenshot shows. Please click on "Fix Device" button.
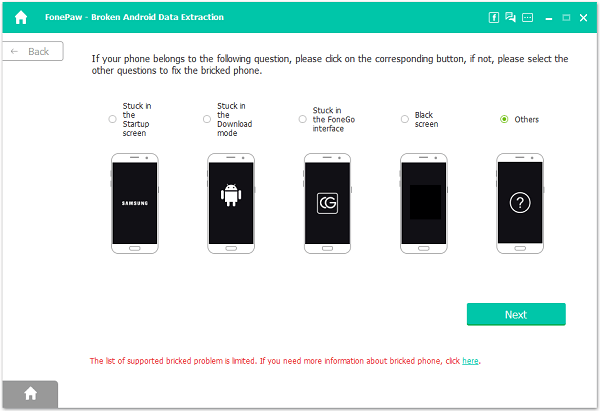
Step 2 Select the Phone Name and Model
Now you need to select the device name and model of your Android smartphone so that the program can match it and then continue to fix it correctly.
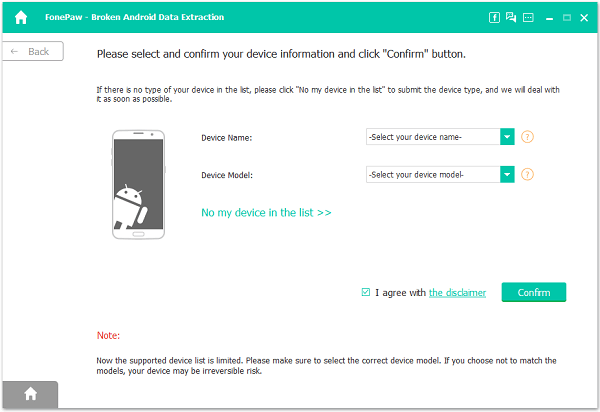
Step 3 Force Bricked Android into Download Mode
Please follow the guide to enter the Download mode: Power off the phone > Press the volume down + Home button + Power button > Press the volume up to enter download mode.
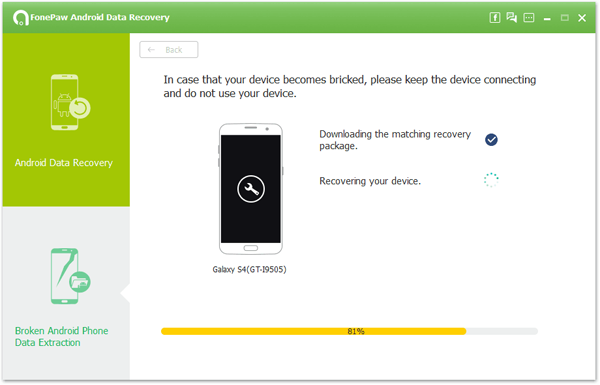
Step 4 Let the Device Restart
Android Photo Recovery program will download the recovery package, which helps you recover the device and enable it back to the normal state. Several seconds later, the bricked phone will restart as the normal one. Then you need to check whether the Android works or not.
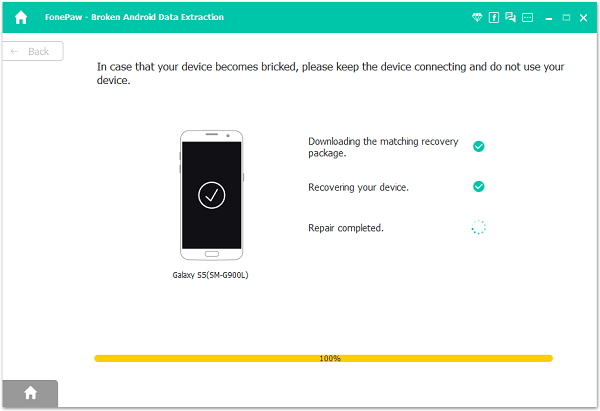
Step 5 Rescue Data from Brick Android Phone
Since your phone is normal now, you can click on "Android Data Recovery" to continue to restore the data to your computer. Choose the ones you want to restore and click on the "Recover" button.
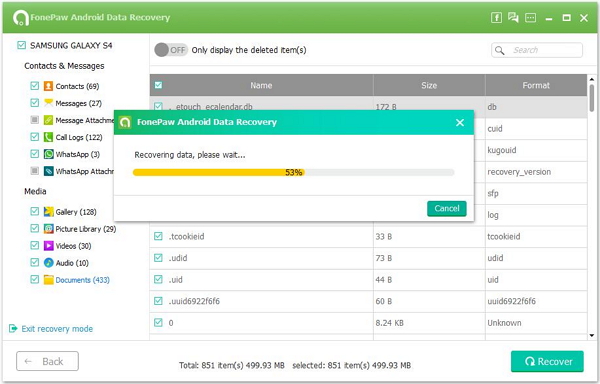
All is done! Note that recovered files are stored in the computer. If you would like to send them to the Android, connecting the device to the computer and copy files into the device folder.


