Android Data Recovery
How to Recover Photos from Digital Camera
-- Wednesday, July 06, 2016
It really happens, doesn't it? If that photo happens to be one of your favorites, it would even be more frustrating. I once bumped into the same situation. Luckily, I got it back by Android Photo Recovery. If you're having the same problem, please read the followings and learn how to recovery photos from digital camera.
Android Photo Recovery supports to retrieve those photos you accidentally deleted. What you should do is just to connect the SD memory card to the program. After scanning for the deleted files, you can selectively choose the images you want to restore. To know more details, please follow the steps.


Step 1 Connect Memory Card to the PC
Please download the Android Photo Recovery for the first time use. After installment, run the program and connect your camera's SD card to PC.

Step 2 Choose the Disk to Scan for Lost Photos
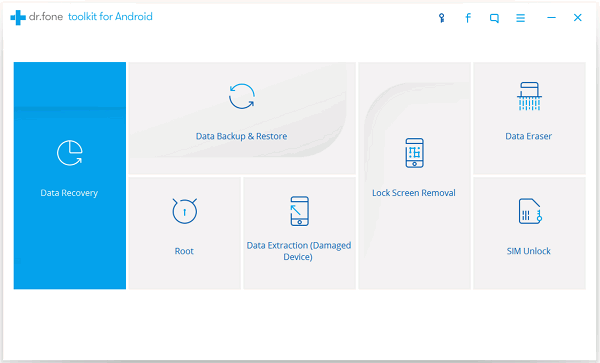
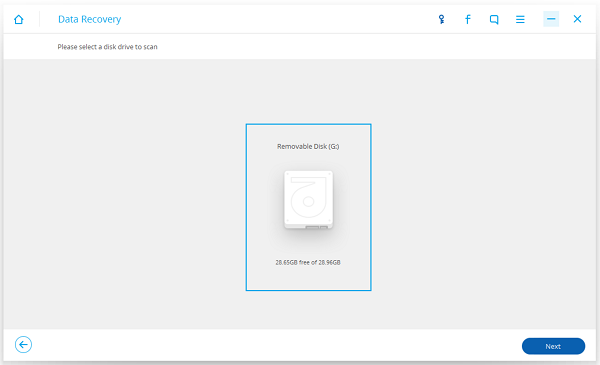
Choose "Data Recovery" in the main interface, then, tap on "Android SD Card Data Recovery". Click "Next" and you will be prompted to select a disk to scan. After that, tap on "Next" to enter the next step.

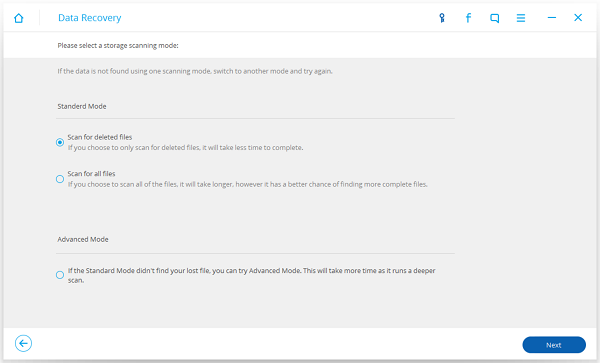
Now, you need to select a storage scanning mode, of which are Standard Mode and Advanced Mode. Normally, you can get deleted pictures back by choosing "Scan for deleted filed", which takes much shorter time. Then you have to wait for a second until the scanning process is finished.

Step 3 Retrieve Deleted Photos
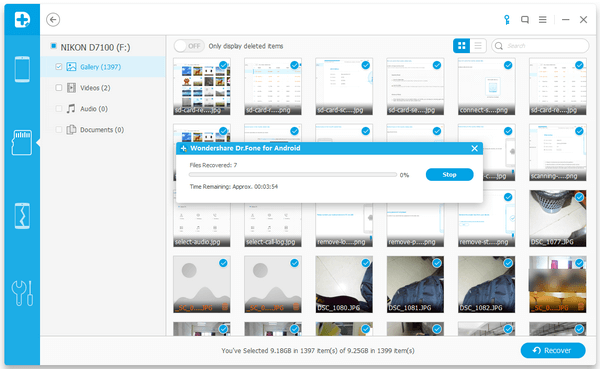
After scanning, you are able to see those lost picture listed on the program, which are tagged in red with a bin icon in front. Select those you want to recover and tap the "Recover" button, and then choose the route and your photos will be recovered without a hitch.
Note that you can toggle on the bar at the top to only display deleted items.

That is how Android Photo Recovery works. Really simple, right? It just takes some simple clicks, and you will easily get deleted images back on your PC. Pay attention and don't ever lose them again!


