


Android Data Recovery


How to Back Up and Restore Viber Data on iPhone
-- Thursday, June 09, 2016
For iOS users, here I strongly recommend iPhone Data Recovery. It is a useful data recovery program for iPhone 7/SE/6s/6s Plus, iPad Pro/Air 2/Mini 4 and iPod. iPhone Data Recovery supports to retrieve a variety of lost or deleted files. What’s more, it is now available to back up and recover Viber data, Facebook Messenger and WhatsApp data. Please read on to see how to make a backup and restore Viber data.


- Part 1. Back up Viber Data on iPhone
- Part 2. Restore Viber Data on iPhone
Part 1: Back up Viber Data on iPhone
Step 1 Run iPhone Data Recovery and Choose iOS Viber Backup & RestoreFirst of all, you need to download iPhone Data Recovery. Please run the program after installment and connect your iOS device to Mac. Then, select "Viber Backup & Restore " in the main interface.

Step 2 Back up Viber Data
Here, please tap "Backup" showed on the interface. It will take a few seconds to finish backing up your Viber data.

Step 3 Check out Your Backup
When Backup is completed, there will be a "View it" nearby. Tap it and you will be able to see the backup(s).

You can delete backup or check out more details by selecting "View".
Part 2: Restore Viber Data on iPhone
What if you by chance lost some or all of your Viber data later on, and you want to recover Viber data, thanks to the previous backup, you now can retrieve your Viber data to your iOS device with ease. Please scroll down and read on.Step 1 Open iPhone Data Recovery and View Previous Backups
Perform iPhone Data Recovery and connect your iPhone via USB cable to the program. Choose "More Tools" on the left and select "To view the previous backup file" right under Backup button.
Choose one of the backups, and tap "View" to see more details.

Step 2 Choose Viber Data and Get Restored
You will be able to see "Viber", "Viber Call History" and "Viber Attachments" on the left of the interface. You can choose one kind of file or choose all files, and then select "Restore to Device" or "Export to Mac" as to get your data recovered.

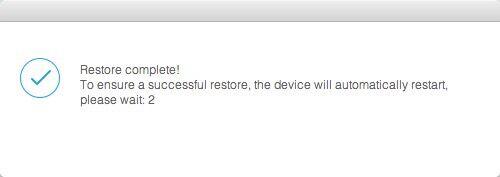
You will have to wait for seconds before recovery is completed. After that, your device will automatically restart.
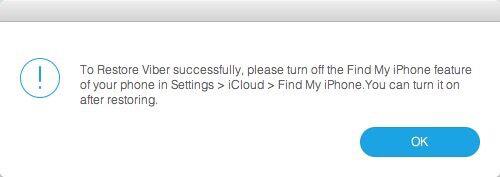
Note that if you choose "Restore to Device", make sure that you've turned off "Find My iPhone" on your iOS device. You will otherwise be prompted by a pop-up showed as below.
Isn't it easy to either back up or restore Viber data with the help of iPhone Data Recovery? Don't be regretful and upset until you realize that you should have done all these in advance.

Ivy Bruce is the Founder and Editorial Director at Recovery-Android Studio. You can also find her on Google+ and Twitter.
![]()
![]()
![]()
![]()


