Android Data Recovery
How to Do iPhone Viber Backup on Mac
-- Thursday, June 09, 2016
Yesterday, my bestie experienced a 'misery' due to her loss of Viber data. However, there is no such a thing like 'somebody should have done something before something happens'. All of us should learn to prepare for a rainy day. Don't be regretful right after your loss. Now, let's prevent such a misery by backing up Viber data at first. If you have no idea of how, scroll down and see more.
iPhone Data Recovery works as an excellent tool for iOS users to recover messages, contacts, photos and so on that you once deleted or lost. Better yet, users can do a makeup or retrieve data for Viber, WhatsApp and Facebook Messenger. With this handy program, you can either back up or retireve Viber call history, messages and photos in some clicks. Today I am going to show you how to do a Viber backup on Mac with ease.


- Method 1. Create Viber Backup on Mac via iPhone Data Recovery
- Method 2. Back up Viber data via Viber itself
Method 1: Do Viber Backup on Mac via iPhone Data Recovery
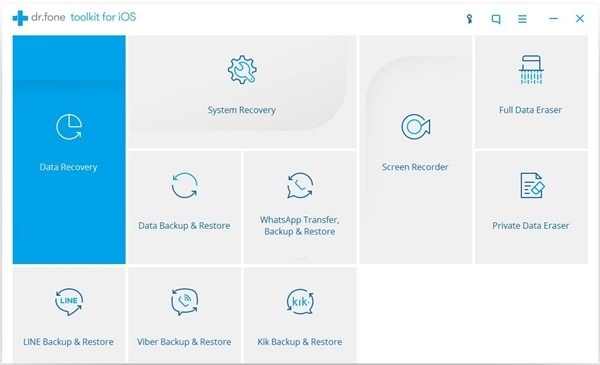
Step 1 Run iPhone Data Recovery iOS and Get Devices ConnectedYou should download iPhone Data Recovery in the first place. When finished installment, please perform the program and connect your iPhone to Mac.
Step 2 Select iOS Viber Backup & Restore and Back up Your Viber
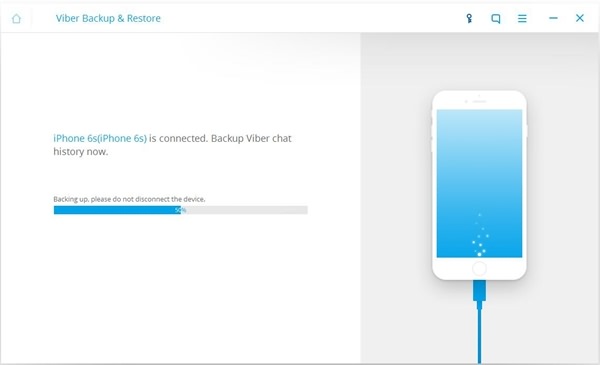
In the main interface, select “Viber Backup & Restore” function. Here, please tap "Backup" button and you will spend a while waiting for the backing up process to be done.
Step 3 Check out Backup Details
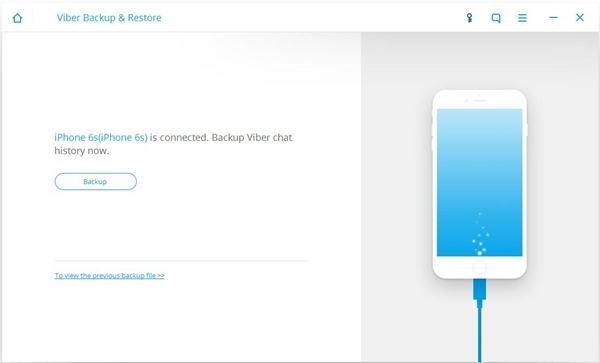
When Backup done, you can notice that there is a "View it" button. Tap it and you can check all the backups you've done.
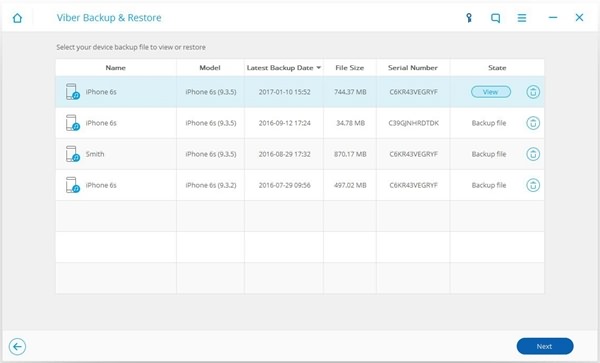
You can see all the backups on this interface with the information of the backups, such as Name, Model, Latest Backup Date, File Size, Serial Number and State. You can as well delete those unwanted. For more details, please choose"View".
Method 2: Do Viber Backup via Viber itself
You can also back up your Viber calls and messages history by using the app itself. Just read on and see how it is done.1. Run Viber on your device
2. Select "More" option
3. Choose "Settings"
4. Tap "Viber Backup"
5. Choose "Back up now"
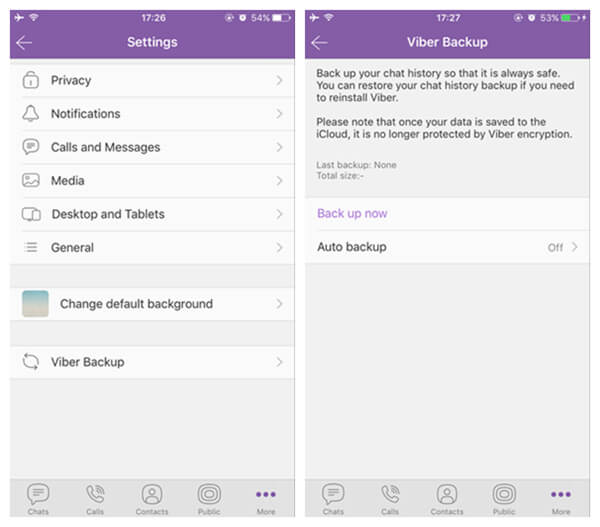
Note that using Viber to do a backup is easy, but the files backed up in this way will be in a form of CSV file and cannot be restore to Viber. Moreover, you cannot recover your Viber data unless you reinstall the app. Compared to that, iPhone Data Recovery will definitely be a better choice. Just download and give it a shot.


