Android Data Recovery
How to Transfer Photos from Android to iPhone
-- Friday, April 12, 2013
Phone Transfer, the almighty and efficient data transferring tool, helps you transfer Android photos into iPhone in 3 simple steps – "Launch", "Connect" and "Copy". Apart from pictures, you can also transfer data like contacts, messages, music, videos etc, from Galaxy S5/S6/S6 Edge to iPhone 6s/ 6s Plus/ 7/ 7 Plus. Take a glance at the instruction below, and check how it works.
Try the trial version on your computer of Phone Transfer here:


Ways of Transferring Android Images to iPhone
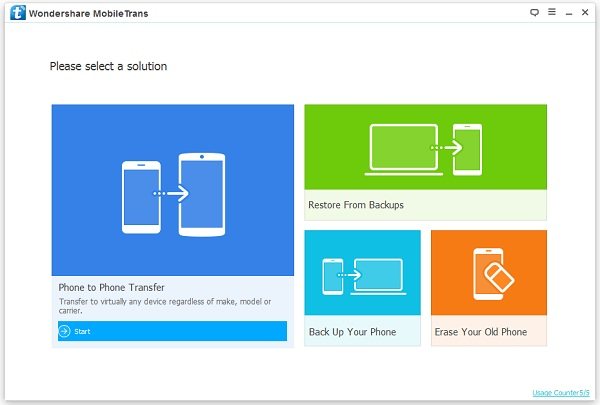
Step 1 Install and launch Phone Transfer on Your ComputerDownload Phone Transfer on your computer and install it. You will see the following interface as below.

Note: If you haven’t install the lateset version iTunes on your computer, you should install one and move on to the next step.
Step 2 Connect Android and iPhone with computer via USB Cable
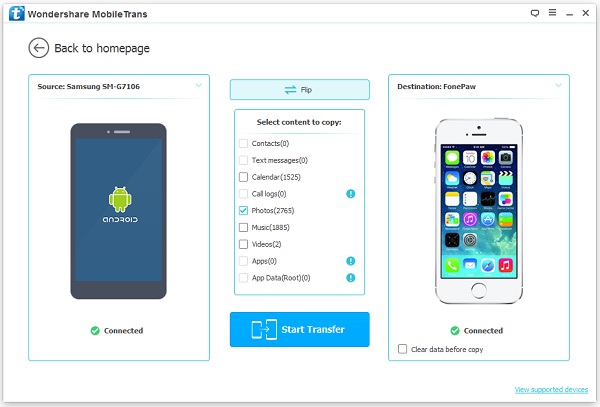
You will be asked to connect your Galaxy S6 to iPhone 6 via USB cable once enter the main interface of Phone Transfer. And the software can detect your Android and iPhone automatically. Once detected, both your phone will be listed as the destination and the source device separately.

Note: Click “Flip” if you want to change the position between iPhone and Android.
Step 3 Move photos from Samsung Galaxy S6 to iPhone 6
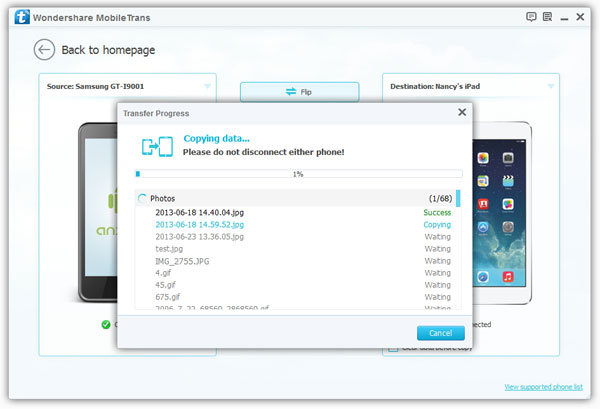
Before copying your Android photos to iPhone, remove the box in front of other files and click “Start Copy” to begin transferring. Of course, if you want to transfer other data as well, you can neglect this. When the process is over, you should click "OK".

Note: Be sure that both your USB cable is well connected to the computer during the process.
You can try Phone Transfer and if you like it, you can introduce it to your friends.


