Android Data Recovery
How to Transfer Photos from iPhone to Computer
-- Monday, October 23, 2017
For some iOS users who owns an iPhone with small storage, it is sometimes very annoying for the lack of phone storage. For instance, it requires a large storage to upgrade from a higher iOS version. In this way, they would prefer move their photos, which takes a quite large space of his iPhone, to computer and then delete them on iPhone to make the storage available. Want to learn how to do? Please continue to read.
People also read:
Transfer Photos from iPhone SE/6s/6s Plus to Computer
iOS Backup & Restore specializes in transferring photos from iPhone to computer. It is user-friendly that it allows you to restore pictures from the backup copy as you wish. Camera roll, videos, panoramas and photo library can all be exported to the PC. Download iOS Backup & Restore on your PC and have it a try. It is easy and what you need is just to read the below steps.

Step 1 Install iOS Backup & Restore and Connect iPhone
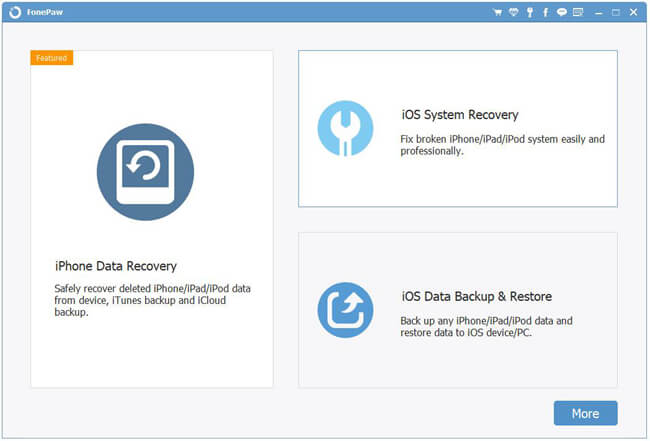
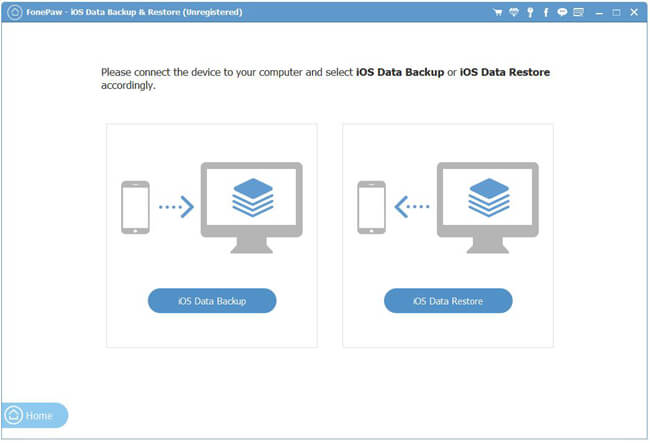
After downloading the program, install it on your computer. Launch it and go to "iOS Data Backup & Restore > iOS Data Backup" option. After that, you will be asked to connect your iPhone to the PC and it will be detected by the program.

Step 2 Select Backup Mode
Choose "Standard Backup" or "Encrypted Backup" option and click on the "Start" button on the interface.

Step 3 Export Photos from iPhone to Computer
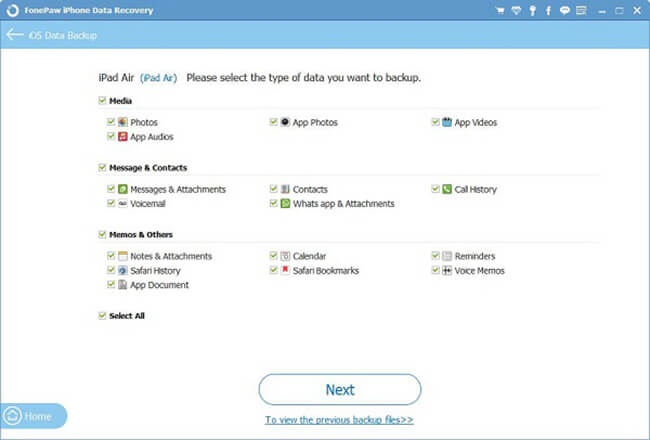
All the data types will be listed. You can choose "App Photos" category and choose all by ticking the box. And then, click on the "Next" button and wait for a moment, all the photos on iPhone will be backed up to PC.

With this excellent iOS Backup & Restore, you are also allowed to transfer other media files like transferring music from iPhone to computer, and so on. As the steps are so easy for you, you don't need to worry about backing up iOS files will be in a mess any more.


