Android Data Recovery
How to Transfer Photos from iPhone to Mac
-- Saturday, April 25, 2015
I have a 16 GB iPhone and I captured hundreds of photos on my iPhone last week when I have a happy hour with my family, and I found that there are few storage left on my iPhone. I know that I have to delete some of these photos, but all of them are precious and I don't want to delete any of them. Is there any way for me that I can get more space without deleting any iPhone pictures?
iPhone Transfer (Mac) is a good choice and I will tell you why:
1. It helps copy photos including camera rolls, panoramas, videos, and the images you downloaded.
2. You just need to connect and choose to export. And you are allowed to preview them intuitively and selectively copy them.
3. It is now compatible to the latest iDevice like iPhone 7/SE/6s/6s Plus/6/6 Plus, and as well as the older devices which runs iOS 5.
Download iPhone Transfer on your Mac and try transfer your iPhone photos to Mac with ease.


Export Photos from iPhone to Mac
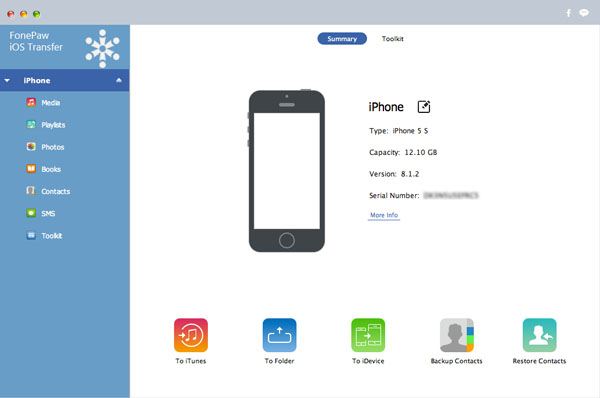
Step 1 Launch iPhone Transfer on your MacIt is now supports the latest Mac OS, OS X 10.10 and you can download it on your Mac with ease. Then, install it and launch it. After that, connect your iPhone SE/6s/6s Plus/6/6 Plus to the Macbook, and the program will start detecting your iDevice.

Step 2 Export Photos from iPhone to Mac
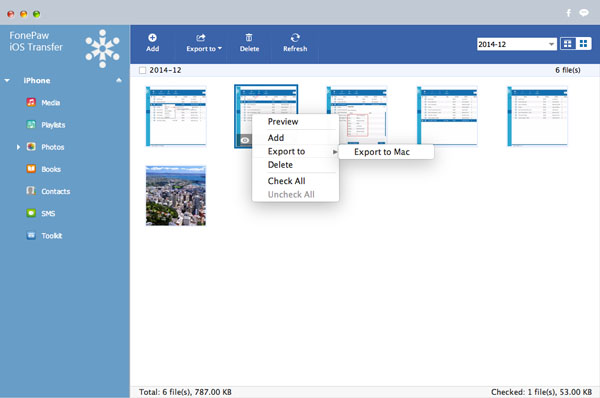
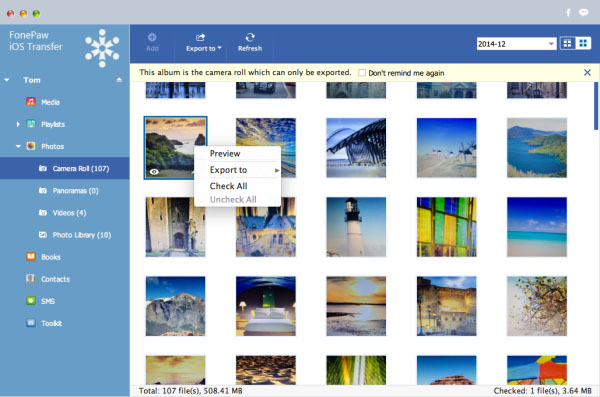
On the left list, you can see several file types for choice. Choose "Photos" and then on the pull-down list, check the album you want. And then take "Camera Roll" for example, after you choose "Camera Roll", all the photos in the album will be show up. Then, you can click the photos you want to transfer and click "Export to". Click "Export to Mac", and selet the folder you want and the process will be finished in short.

You are also allowed to preview the photos before the transfer. Just right click the photo and choose "Preview". Have a look at this one:


With these two steps, all your camera roll, panoramas, videos and download images are all saved in your Mac in the folder you chose before the transfer. iPhone Transfer (Mac) is powerful, isn't it? If you have any problems about transferring iPhone photos, please leave us messages below.


